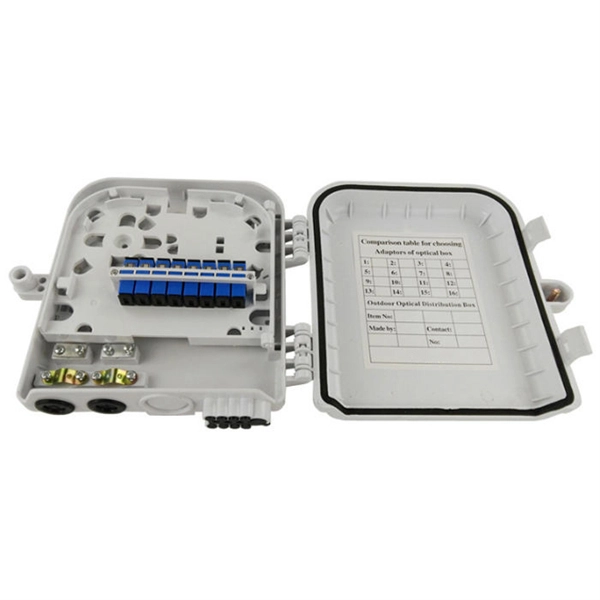
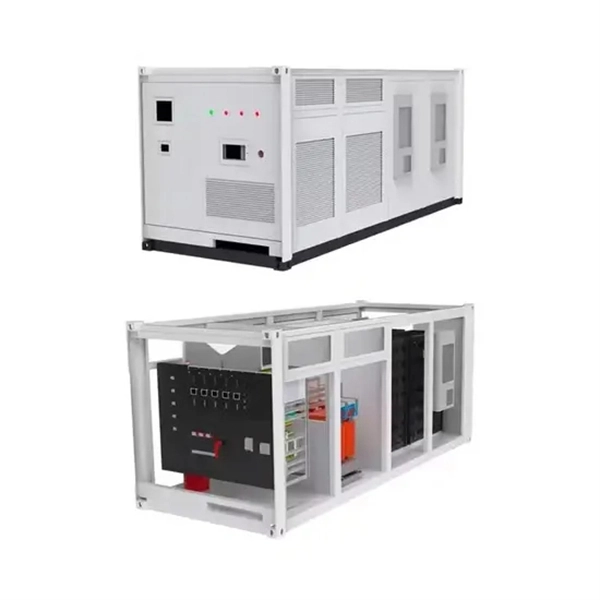
Distribution Box Assembly Method
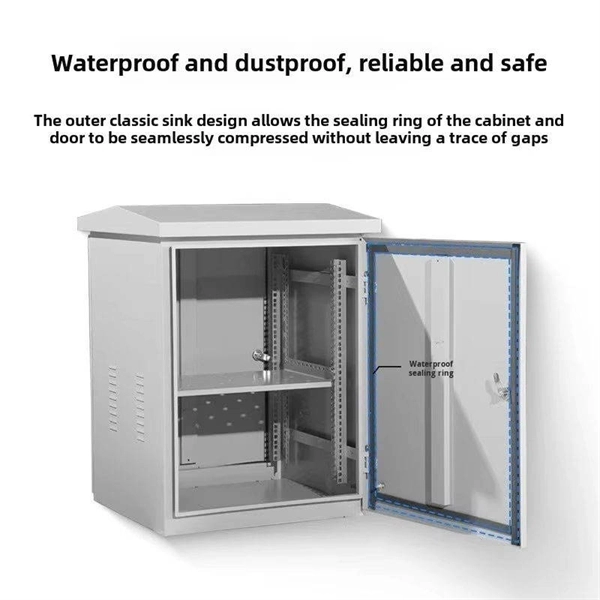
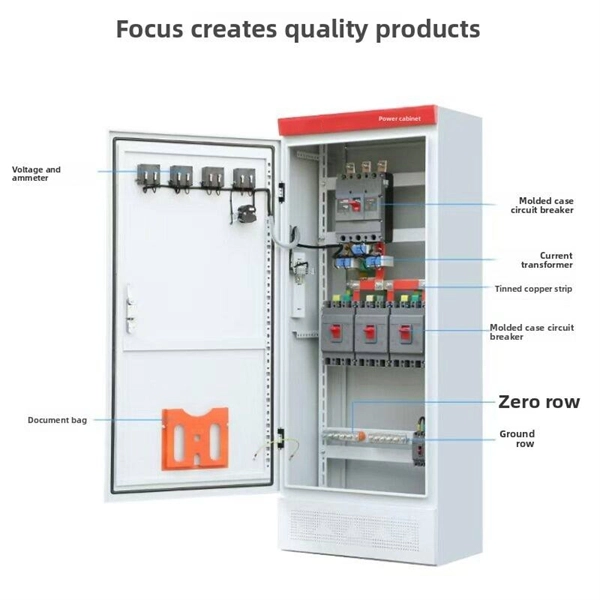
The assembly of a distribution box involves designing, preparing materials, mounting components, wiring, and performing safety checks to ensure proper electrical distribution and protection.Step 1: Design and PlanningBefore assembly, engineers create CAD drawings and 3D models of the distribution box based on customer requirements, standards (IEC, ANSI), and application scenarios. This includes specifying dimensions, material thickness, IP/NEMA protection level, and component layout to ensure compatibility and reliability for residential, commercial, or industrial use .Step 2: Material PreparationHigh-quality materials are selected according to the application:Steel or stainless steel sheets for the enclosureSurface treatment materials like anti-rust coatings or powder paintEach batch undergoes thickness, hardness, and corrosion resistance tests .Step 3: Cutting and FormingThe enclosure is shaped using CNC laser cutting, punching, bending, and stamping. Holes for mounting components and cable entries are precisely made. This ensures consistency, flexibility, and efficiency for both standard and custom designs .Step 4: Surface TreatmentThe enclosure is finished with powder coating, galvanization, or painting to provide corrosion resistance and aesthetic appeal .Step 5: Component InstallationInside the box, essential components are mounted:Busbars, neutral bars, and earth barsCircuit breakers (MCBs, RCCBs, RCBOs), fuses, isolatorsSurge protective devices and indication lightsOptional smart modules for energy monitoring and remote control . Components are typically fixed using brackets and DIN rails, ensuring proper spacing for wiring and heat dissipation.Step 6: Wiring and RoutingWiring is routed neatly through channels or cable ducts. Connections are made according to the circuit design, ensuring:Correct polarity and phase alignmentSecure and tight connectionsCompliance with rated current and short-circuit capacity .Step 7: Inspection and TestingAfter assembly, the distribution box undergoes:Visual inspection for component placement and wiring neatnessElectrical testing for continuity, insulation resistance, and functionalitySafety checks to prevent short circuits, overloads, or grounding issues .Step 8: Final PreparationOnce tested, the box is closed, labeled, and packaged for installation. Proper labeling ensures easy identification of circuits and future maintenance . By following these steps, a distribution box is assembled to provide safe, organized, and efficient power distribution for various applications.